Crypto trading bots can bring you high profits and are fully automated. However, it’s worth looking into it and knowing what you’re doing.
Cryptohopper offers both beginners and advanced users the opportunity to configure their own “best” trading bot.
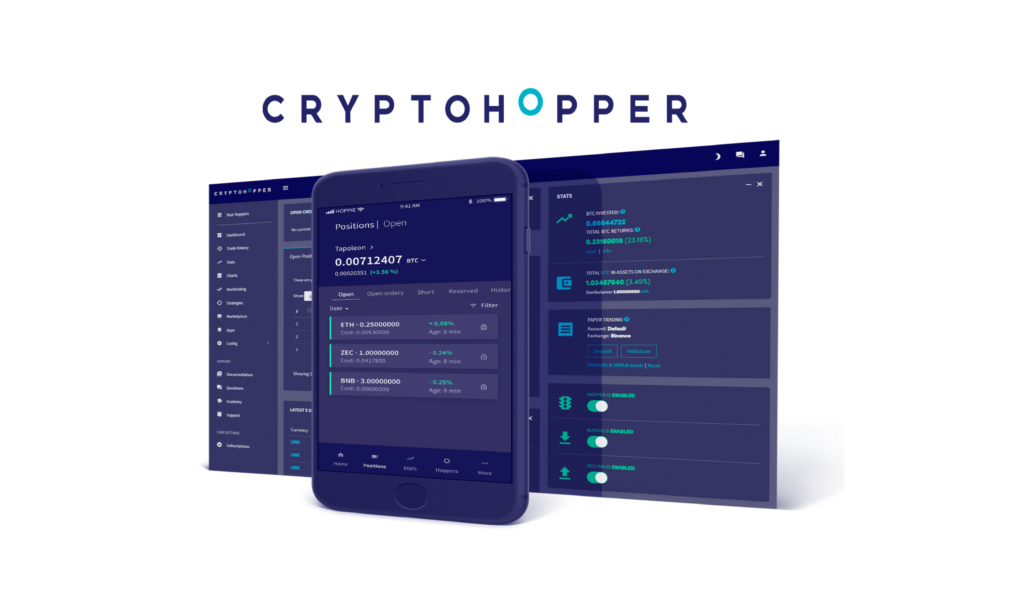
Cryptohopper is a powerful trading bot that can be configured for your individual needs and preferences. In order to get the most out of this bot, you should configure it according to your own trading strategy.
Now that you know the usefulness of this bot and have started to use it, you are thinking certainly about, what would be the best crypto trading bots settings for your trading strategies ?
It’s high time we talked to you about the different settings and best cryptohopper settings that could make your life easier.
In order to get the best results, you should begin by set up the best setting for your bot-like the exchange you’re using, the currency pairs you want to trade and your risk level. After that, let the bot run on autopilot and make regular adjustments !
In this post, we summarized all the knowledge about setting up Cryptohopper. Here you will find all the necessary information about Cryptohopper and its different settings ! You will also receive advice from us to create the right strategy for your needs. So stay focused and let’s go !
How do I set up Cryptohopper?
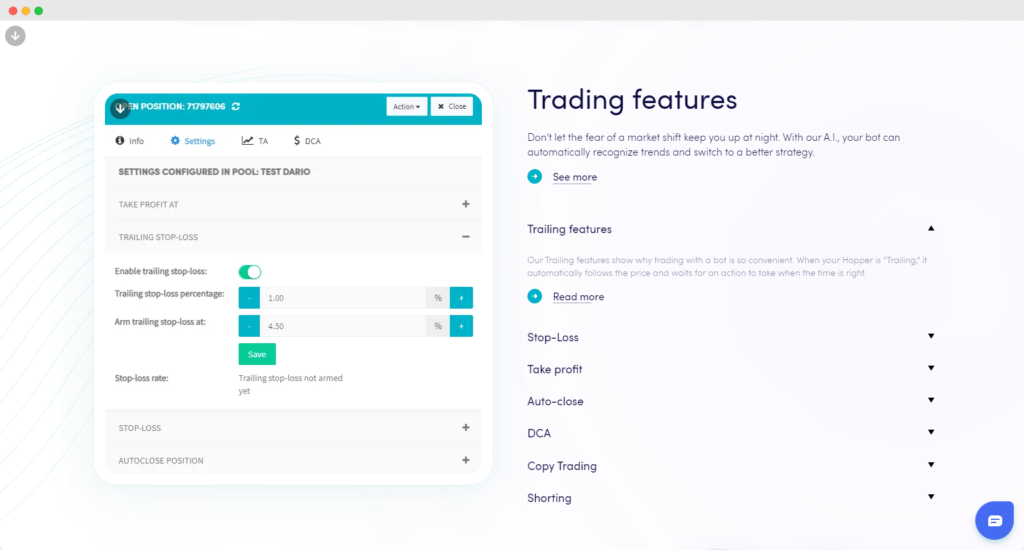
In order to use Cryptohopper for automated trading, you’ll need to create an account and connect it to your exchange account. Once you’ve done that, you can begin configuring your bot’s settings. The most important settings to consider are the exchange you’re using, the currency pairs you want to trade, and your risk level. You can also set up technical indicators to help your bot make better decisions about when to buy and sell.
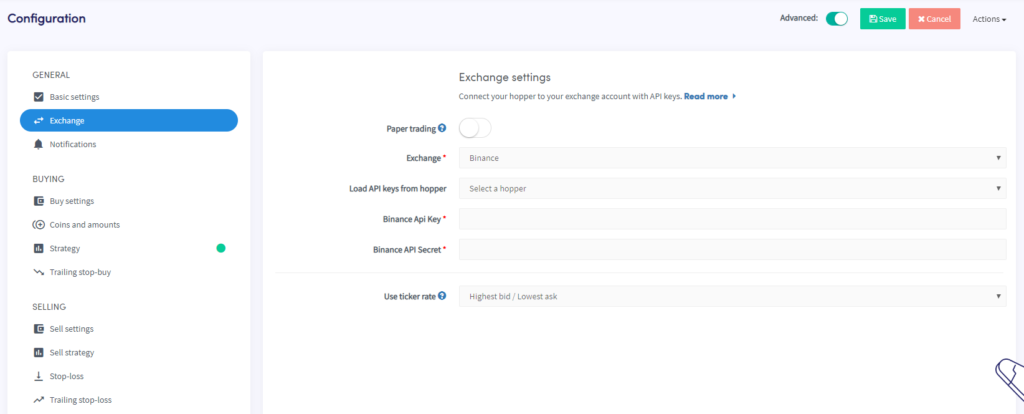
To be able to use the bot, you must handle the API connection between this crypto trading bot and your exchange after registration. You create your API keys on the respective exchanges, which allows you to use these keys to connect the bot to the exchange and for Cryptohopper to access and communicate with the exchange. (Read on to learn how to connect via the API)
The different settings you can configure for your bot
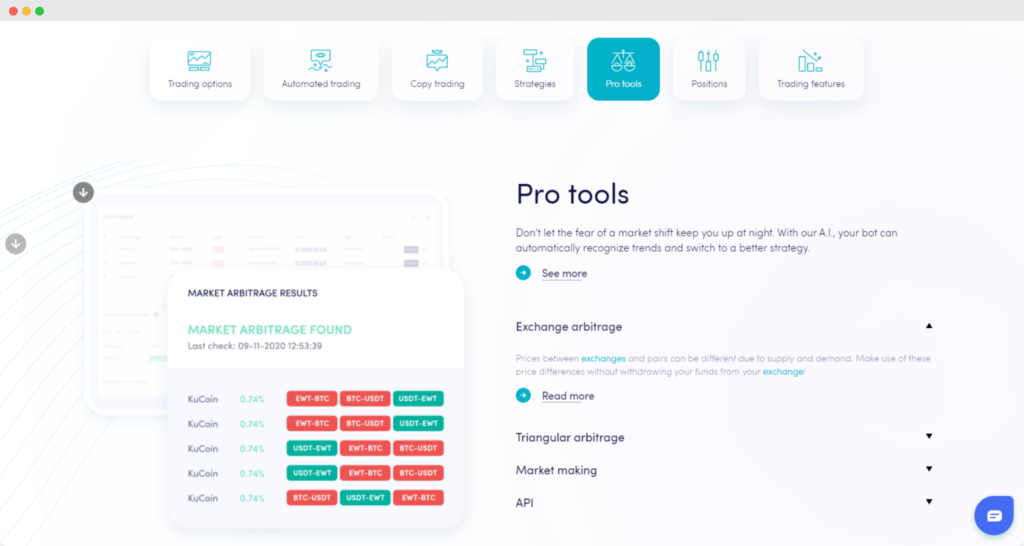
There are a lot of settings that you can tweak on Cryptohopper. This section will explain some of the most important ones.
Pairs: The pairs setting is where you specify which currency pairs you want to trade on. You can trade on multiple pairs at the same time, but it’s generally best to focus on one or two pairs to start with.
exchanges: The exchanges setting is where you specify which exchanges you want to trade on. You can trade on multiple exchanges at the same time, but it’s generally best to focus on one or two exchanges to start with.
Trade Amount: The trade amount setting is where you specify how much BTC you want to use for each trade. It’s important to not over-leverage your account, so don’t put in more BTC than you’re comfortable with losing.
Profit Margin: The profit margin setting is where you specify what percentage of profit you want to make on each trade. For example, if you set this to 3%, then your bot will only execute trades that it thinks will make at least a 3% profit.
Risk Level: The risk level setting is where you specify how much risk you’re willing to take. A higher risk level means that your bot will be more aggressive in its trading, while a lower risk level means that your bot will be more conservative.
Stop Loss: The stop loss setting is where you specify the price at which you want your bot to automatically sell your currency if it starts to go down in value. This is a useful setting to prevent losses if the market starts to turn against you.
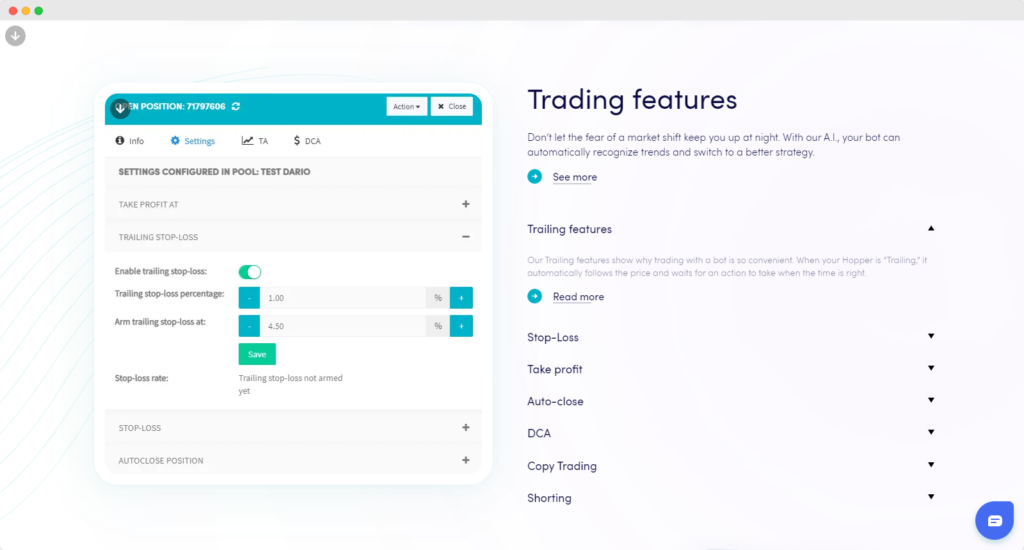
Trailing Stop Loss: The trailing stop loss is similar to the stop loss, but it automatically adjusts as the price of the currency goes up. So, if you set it to 3%, then your bot will sell when the currency falls 3% below its highest price since you bought it.
Arbitrage Limit: The arbitrage limit is where you specify the maximum difference in price between two exchanges that you’re willing to trade on. For example, if you set this to 3%, then your bot will only execute trades if it can find an opportunity where the price on one exchange is 3% higher than the price on another exchange.
Max Open Trades: The max open trades setting is where you specify the maximum number of trades that you want your bot to have open at any one time.
Sell Only Mode: Sell only mode is a mode where your bot will only sell currency, and never buy it. This can be useful if you just want to cash out of a currency, or if you think the market is about to crash.
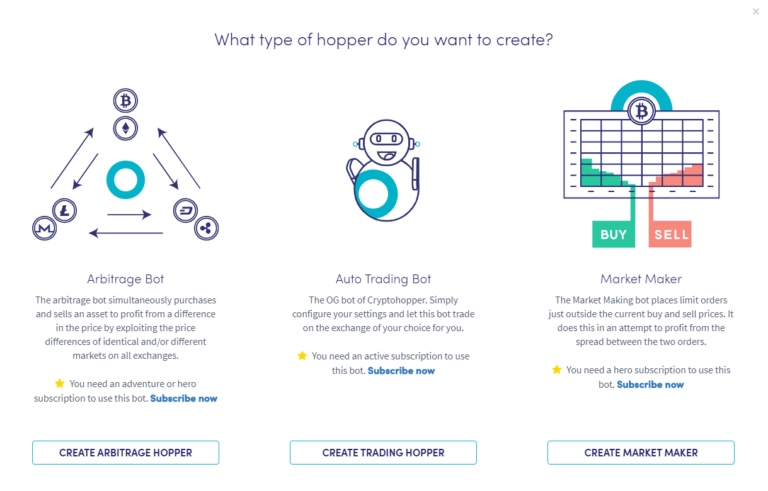
Hopper Type: The hopper type setting is where you specify whether you want to use the “Market Maker” Hopper or the “Arbitrage” Hopper. The Market Maker Hopper is best for making small profits on many trades, while the Arbitrage Hopper is best for making large profits on a few trades.
Order Type: The order type setting is where you specify whether you want your bot to use “Market” orders or “Limit” orders. Market orders will execute immediately at the best available price, while limit orders will only execute at the price you specify.
Post Only: The post only setting is where you specify whether you want your bot to only place “post-only” orders. Post-only orders are orders that will only be placed if they can be filled immediately at the price you specified. This can be useful if you don’t want your bot to place any orders that might not be filled immediately.
Advanced Settings: The advanced settings is where you can specify more technical settings for your bot. These settings are only necessary if you have a very specific trading strategy that you want to implement.
Best cryptohopper settings for trading strategy
In order to find the best settings for your crypto trading strategies, you will need to experiment and test different settings. There is no one perfect setting that will work for all strategies. The best way to find the right settings is to keep track of your results and adjust your settings accordingly.
One important thing to remember is that you should not over-leverage your account. This means that you should not put in more money than you are comfortable with losing. Leverage can help you make more money, but it can also amplify your losses.
Another important thing to remember is that you should not risk more than 2% of your account on any single trade. This means that if you have a $1000
API settings for Exchanges

The following exchanges are supported by Cryptohopper: Binance, Bittrex, Bitfinex, Huobi Pro, Kucoin, Kraken, OKEx.
Each exchange has its own process for creating and authorizing an API key. The instructions below will show you how to create an API key for each of the exchanges supported by Cryptohopper.
Binance:
1. Log in to your Binance account and navigate to the “API Management” page.
2. Enter a name for your new key and click “Create New Key”.
3. Check the boxes for the permissions you want to grant to the key and click “Submit”.
4. Copy the “API Key” and “Secret Key” to a safe place. You will need these to connect your Binance account to Cryptohopper.
Bittrex:
1. Log in to your Bittrex account and navigate to the “Settings” page.
2. Scroll down to the “API Keys” section and click “Add New Key”.
3. Enter a name for the key and check the boxes for the permissions you want to grant. Then click “Save Changes”.
4. Copy the “Key” and “Secret” to a safe place. You will need these to connect your Bittrex account to Cryptohopper.
Bitfinex:
1. Log in to your Bitfinex account and navigate to the “API” page.
2. Click “Create New API Token”.
3. Enter a name for the token and check the boxes for the permissions you want to grant. Then click “Submit”.
4. Copy the “API Key” and “Secret Key” to a safe place. You will need these to connect your Bitfinex account to Cryptohopper.
Huobi Pro:
1. Log in to your Huobi Pro account and navigate to the “Account” page.
2. Scroll down to the “API Management” section and click “Create”.
3. Enter a name for the API and check the boxes for the permissions you want to grant. Then click “OK”.
4. Copy the “Access Key” and “Secret Key” to a safe place. You will need these to connect your Huobi Pro account to Cryptohopper.
Kucoin:
1. Log in to your Kucoin account and navigate to the “API Management” page.
2. Click “Create API”.
3. Enter a name for the API and check the boxes for the permissions you want to grant. Then click “OK”.
4. Copy the “API Key” and “Secret Key” to a safe place. You will need these to connect your Kucoin
coinbase :
1.Log in to your Coinbase account and navigate to the “Settings” page.
2. Scroll down to the “API Access” section and click “+ New API Key”.
3. Enter a name for the key and check the boxes for the permissions you want to grant. Then click “Save”.
4. Copy the “API Key” and “Secret Key” to a safe place. You will need these to connect your Coinbase account to Cryptohopper.
How to find the best cryptohopper settings for your needs
There is no one-size-fits-all answer to this question, as the best settings for your bot will depend on your individual trading goals and risk tolerance. However, there are a few general tips you can follow to help you find the best settings for your needs. First, start with a free trial, so you can get a feel for how the platform works. Second, experiment with different settings and see what works best for you. Third, use backtesting and paper trading to test your strategies before putting real money at risk. Finally, make sure to regularly review your bot’s performance and make adjustments as needed.
What is the best cryptohopper settings
There is no single “best” setting for Cryptohopper, as it depends on your individual trading strategy and goals. However, there are a few general tips that can help you get the most out of your bot:
– Make sure to set the right parameters for your bot, such as the exchange you’re using, the currency pairs you want to trade, and your risk level.
– Let the bot run on autopilot and make regular adjustments to ensure that you’re getting the most out of it.
– Focus on one or two exchanges and currency pairs to start with, so that you can better monitor and manage your trades.
– Use a stop loss to prevent losses if the market starts to turn against you.
– Use a trailing stop loss to automatically sell your currency if it starts to go down in value.
– Set the arbitrage limit to prevent your bot from executing trades that are too risky.
– Use the sell only mode if you just want to cash out of a currency, or if you think the market is about to crash.
– Choose the hopper type that best fits your trading strategy: the Market Maker Hopper for small profits on many trades, or the Arbitrage Hopper for large profits on a few trades.
— Use limit orders if you don’t want your bot to place any orders that might not be filled immediately.
Conclusion
Cryptohopper is a powerful trading bot that can help you make money from cryptocurrency markets. However, in order to get the most out of the bot, you need to set it up properly. This includes choosing the right exchanges, currency pairs and risk level. You should also backtest your strategies before using them with real money. By following these tips, you can maximize your chances of success with Cryptohopper.

